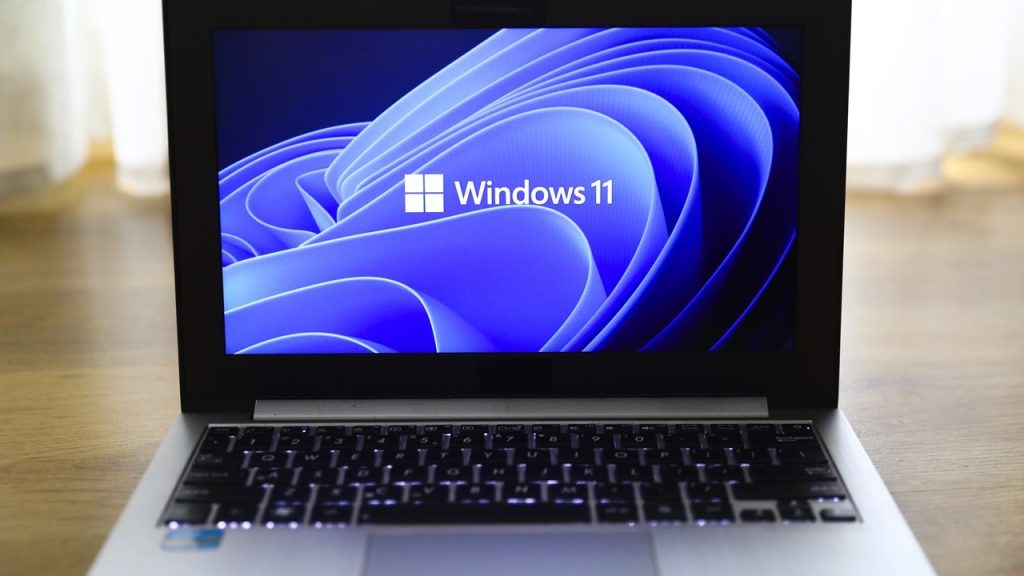
Microsoft recently decided to start displaying ads and Suggestions in the Windows 11 Start menu, and fortunately, there is a way to remove those unwanted ads.
The latest Windows 11 update adds ads to the Start menu, as previously announced. These ads promote apps available on the Microsoft Store. Microsoft calls this “Recommended” and claims it “helps you discover great apps.”
Turn off
Fortunately, there's an easy way to disable this ad in the Windows 11 Start menu if you'd rather not see ads. You have to do this in several places.
- On “Settings”. You can do this by clicking the Windows button with the “I” or via the Start menu.
- Click “Personal Settings” on the left and select “Lock Screen.”
- Uncheck “Show fun facts, tips, tricks, and more on the lock screen.” This option may be hidden under “Customize your lock screen.” If you don't see this option, your Windows 11 doesn't have ads yet.
- Then go to “System” and click “Notifications”.
- Click “Additional Settings” at the bottom.
- Uncheck “Show the Windows Welcome experience after updates and when you sign in to show you what's new and what's coming” and “Get tips and suggestions when using Windows.”
- Then click on “Privacy and Security” on the left and then on “General”.
- There, disable the options “Allow apps to show me personalized ads using my advertising ID” and “Show content suggestions in the Settings app.”
- Then go to “Privacy & Security” and click “Diagnostics & Feedback.”
- Go to Personalized Experiences and uncheck Allow Microsoft to use your diagnostic data, except information about the websites you visit, to improve your product experiences with personalized tips, ads, and recommendations.
- Finally, open Windows Explorer, click on the three dots and select Options.
- Then click View, disable Show notifications from sync provider and save everything by clicking Apply.
- If necessary, restart your computer.

“Lifelong entrepreneur. Total writer. Internet ninja. Analyst. Friendly music enthusiast.”


More Stories
Monster Jam Showdown Launch Trailer
The European Digital Twin Ocean prototype reveals many possibilities
Instagram now lets you add a song to your account